Every Notakey authentication ends the same way: the user reads what they’re approving and taps Approve or Deny: a signed, auditable yes or no. Usually that answer unlocks a login. But the appliance doesn’t care what the question was: an authentication profile lets you attach server-side callbacks to that answer, so Approve (or Deny) can trigger anything with an HTTP API: a door controller, a network policy, a ticketing system, a smart relay.
QR scan or API call ──▶ auth request ──▶ push/app ──▶ user taps Approve
     (from a profile)                                        │
                                              callbacks fire in the background:
                                              ├─▶ https://door.local/open?…
                                              ├─▶ https://nac/api/policy…
                                              └─▶ anything else you add
The pieces, all straight from the product:
- A profile defines the request the user sees (title, description,
validity period), with
{variable}substitution ({username},{user_email},{state}and friends) in any field. - Per profile you attach callbacks to events:
Create(request created),Approve,Deny,Response(either answer),Error, orAny. The number of callbacks per profile is unlimited, and they run in the background, so a slow third-party API never blocks the authentication itself. - Each invoked URL can be protected by OAuth 2.0 client credentials or header-based auth (a shared token), so you’re not stuck exposing an unauthenticated webhook.
Profiles are created in the dashboard under your service’s Authentication profiles; requests can then reference the profile either from the API or — the part that makes physical-world uses practical — from a QR code, with no push notification involved at all.
Try it right now: the demo bank logs you in this way
You don’t have to take our word for how this feels: the demo bank login is this mechanism. The login page shows a QR code. You type nothing on the page. Open the Notakey Authenticator, tap the scan button, and point the camera at the screen:
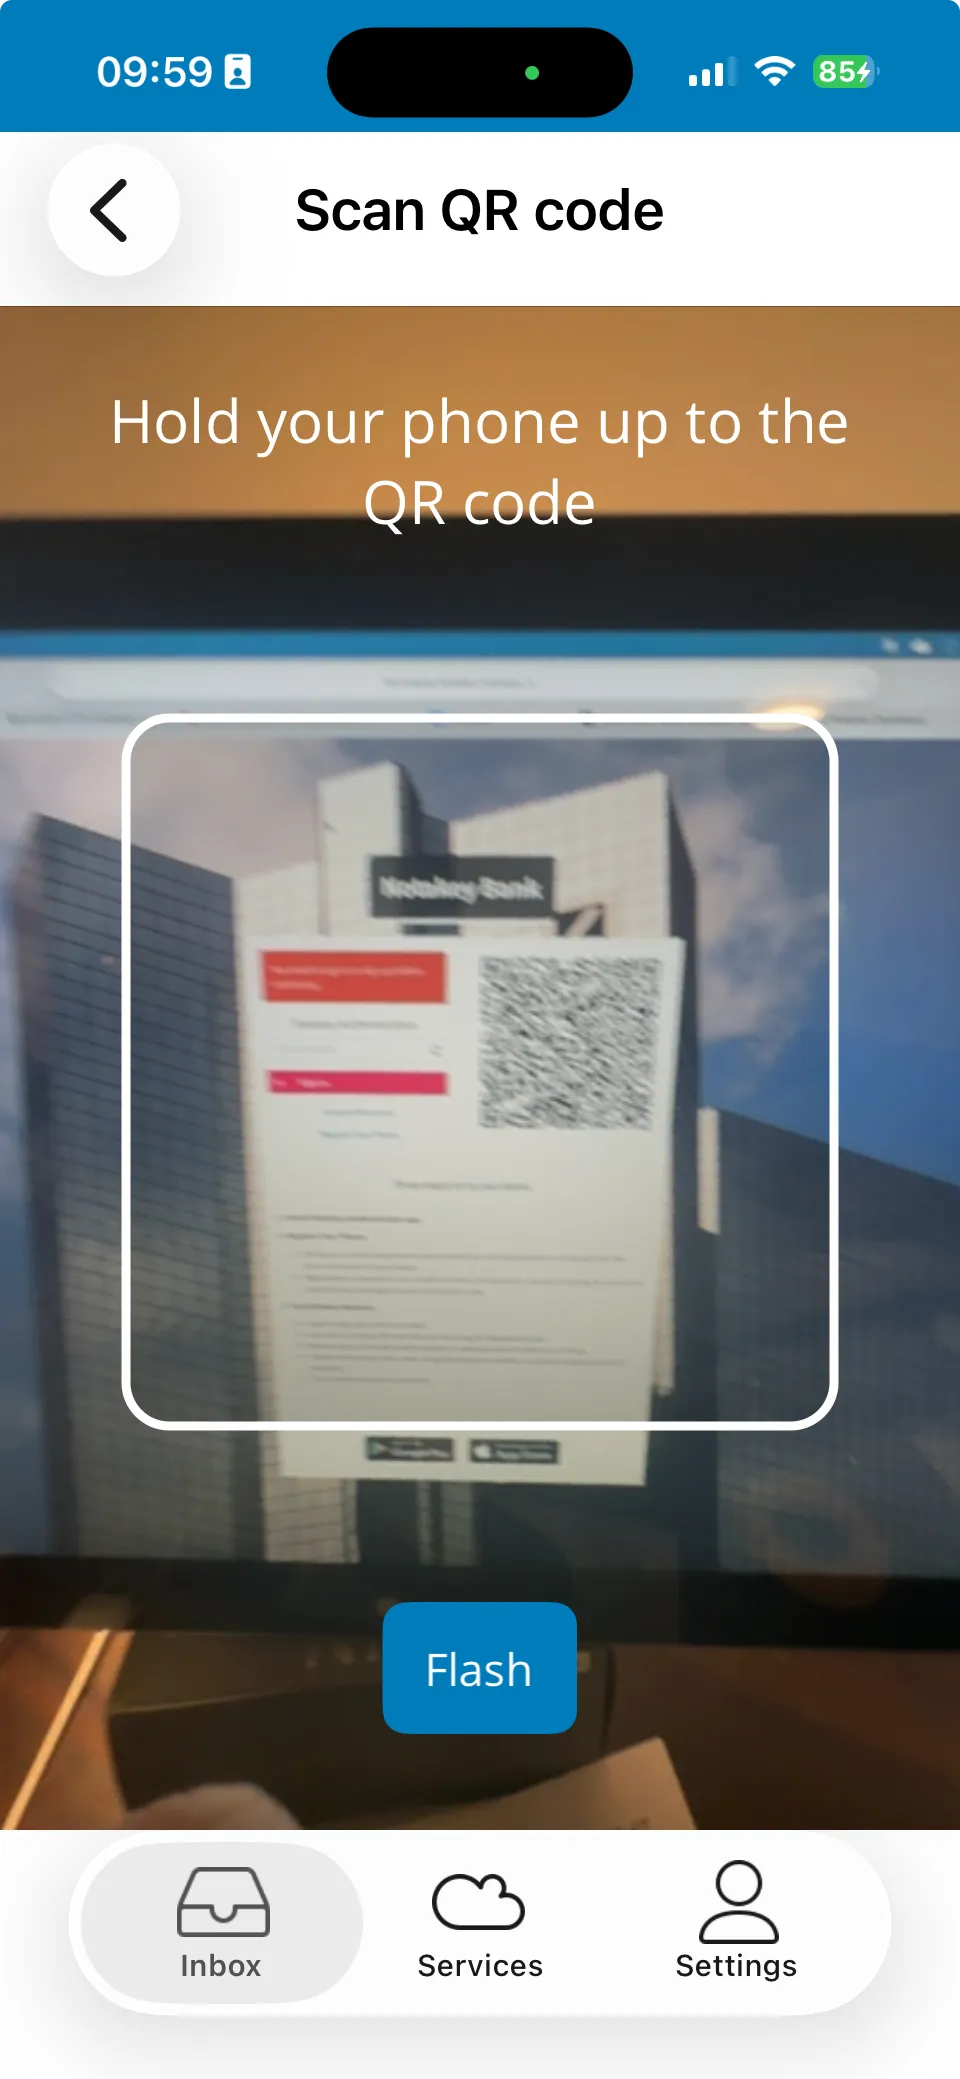
Scanning the code creates the authentication request right on your phone.
This is the a=a deeplink from the next section at work. You see exactly
what you’re approving, and one tap on Approve:
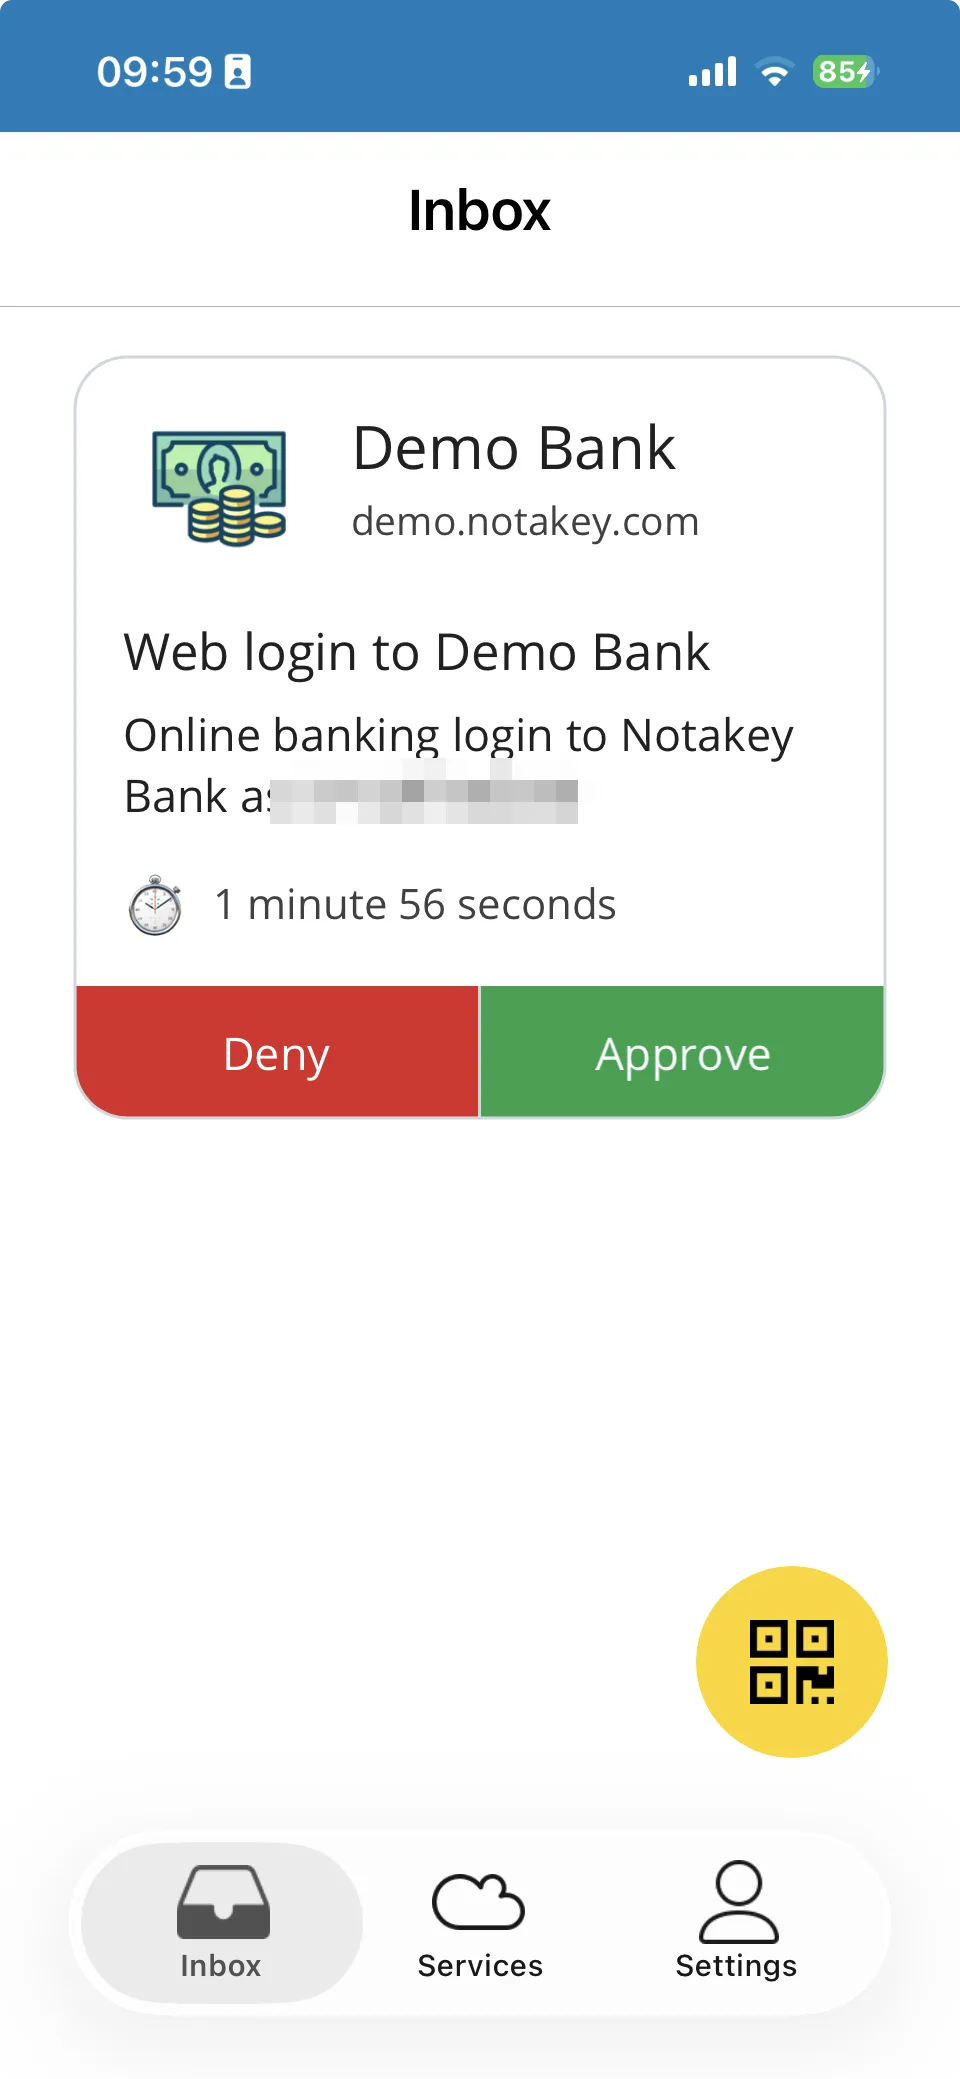
…and the browser tab you scanned from is logged in. The invisible half is the interesting part: your approval fires a callback to the bank’s backend with the request’s state parameter, the backend matches it to the waiting page, and the session opens. Username field, password field, “forgot password” link — none of them exist, because none of them are needed. That’s the pattern the rest of this guide points at other targets.
Worked example: the door that asks your phone
A datacenter door with a laminated QR code next to it. Scanning it with the
Notakey Authenticator creates an authentication request on the spot.
Deeplink action a=a is documented as “request authentication without
push notification”, so this works even though nobody sent anything to the
phone:
notakey://qr?a=a&u=ntk.example.com&k=<service-id>&p=<profile-id>Encode that URI in a QR code (k is the service ID, p the profile ID,
both visible in the dashboard) and print it. The profile behind it:
- Title / description: “Open DC door — {username}, confirm with biometrics.” Set a short validity, e.g. 60 seconds; nobody scans a door code and thinks about it for five minutes.
- Callback on
Approve: the door controller’s API,https://door-controller.internal/open?door=dc-1&user={username}, protected by a header token. Approve → HTTP call → the lock opens. - Callback on
Deny(optional but worth it): a request that was created but denied means someone stood at your door and the phone’s owner said no. Wire that to your alerting. The{response_ip}and{username}variables tell the story. - Callback on
Create(optional): an entry in the audit log the moment anyone scans, before they answer.
The user experience is the demo-bank flow pointed at a lock instead of a payment: scan, read what you’re approving, tap, and the thing happens. No badge cards to clone, no door PIN shared across the whole team, and every open is a signed event attached to a person.
Worked example: VPN login that configures the network
Callbacks compose with the RADIUS setups from our VPN 2FA guide. One pattern from a real deployment, with an Aruba controller: the VPN authenticates the user over RADIUS through the auth-proxy as usual, and a callback then tells the network controller to activate the right network profile for that user. Login and network authorization become one approval instead of two systems that hopefully agree.
The callback body is where profile variables earn their keep:
{username}, {user_guid} (the Active Directory GUID, useful as the
stable key on the controller side) and {state} are substituted per
request, so one profile serves every user.
From the API side
Everything a QR code can start, your backend can too. The
authentication request API accepts a
profile parameter (the request then takes its title, text and validity
from the profile) plus custom_vars, a JSON hash of your own key–value
pairs that flow through to the profile’s fields and callbacks. A booking
system, for instance, can pass {"room": "B12", "slot": "14:00"} and show
exactly that on the phone, then hand it to the callback that unlocks the
right room at the right time.
Two details worth knowing before you build:
- Deny and Error are events too. The most useful callbacks in
production are often not the happy path: page someone on
Deny, logErrorwith{error}/{error_message}when a downstream API stopped answering. - Callbacks are fire-and-forget from the user’s perspective. They run
in the background; many parallel callbacks on a busy appliance can queue.
Design the receiving side to be idempotent; the
{uuid}of the request is your deduplication key.
Where this fits
Authentication was the hard part: a signed, per-person, biometric-backed yes/no with an audit trail. Profiles let you reuse that primitive for everything around it: physical access, network policy, approvals in internal tools. If the appliance already handles your logins, the next “who approved this?” system you were about to build might already be one profile and one callback away.
Related guides
- Push notifications from any script, the informational half of the same API
- VPN 2FA with RADIUS — the complete auth-proxy setup, the RADIUS flow the Aruba pattern builds on
- Try the demo bank: the same scan-review-approve flow, pointed at a transaction