First you have to prepare appliance. Let’s make new application Windows Remote Desktop.
(Tip! Use vpn or windows word in the application name and appliance will load corresponding pictures automatically)
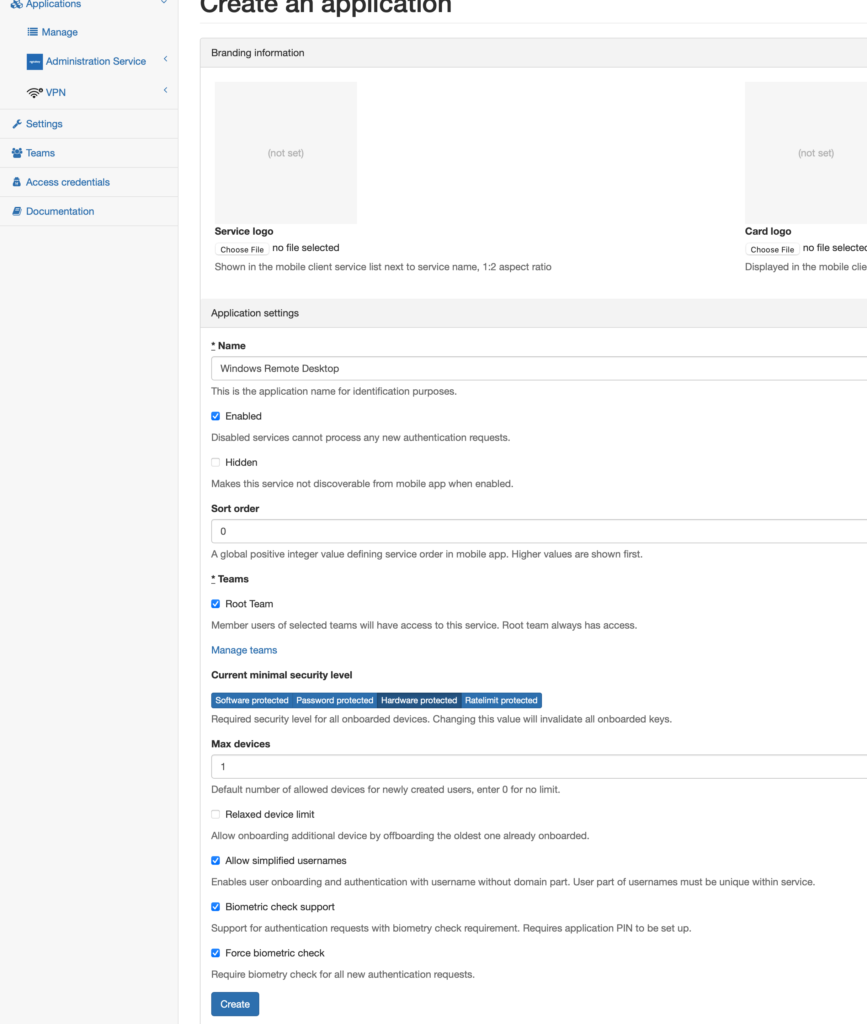
I have checked “Biometric check support” and “Force biometric check” boxes. That will ensure fingerprint or face check during the log in process.
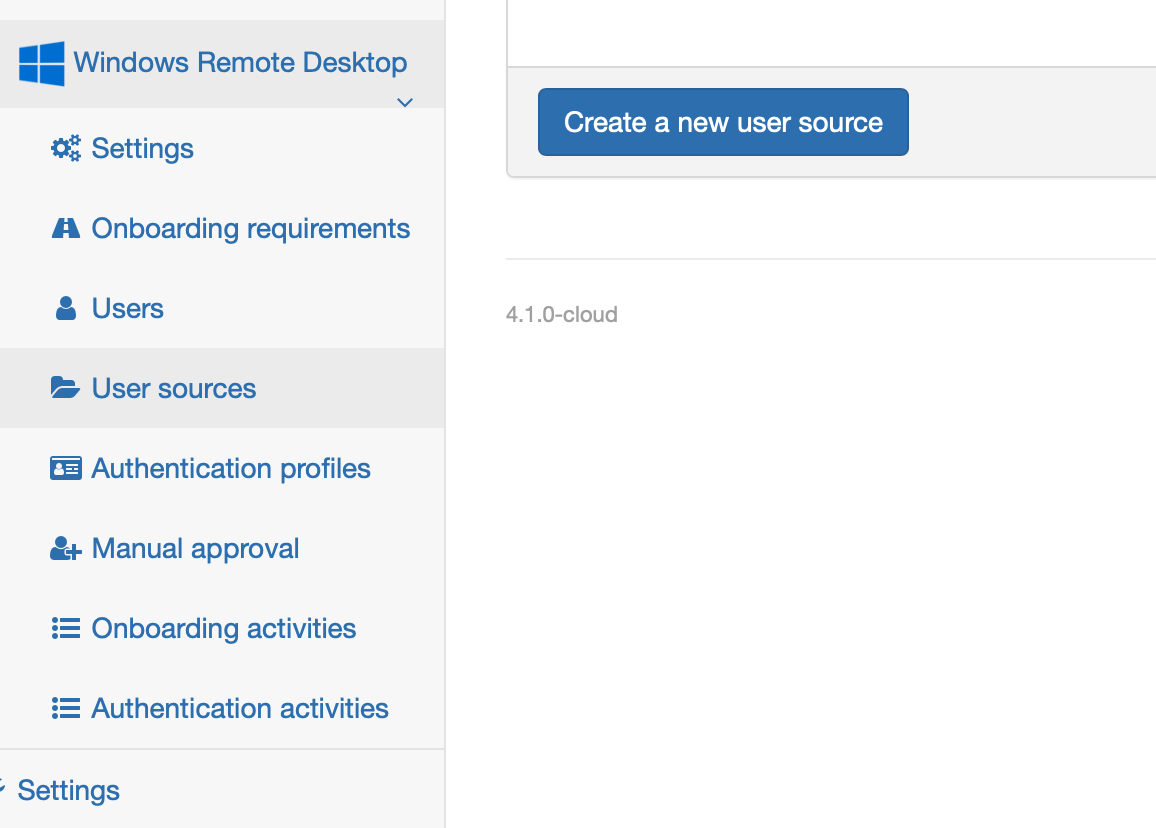
When you have application created you can define users or you can add your an external user source.
You can choose from those three:
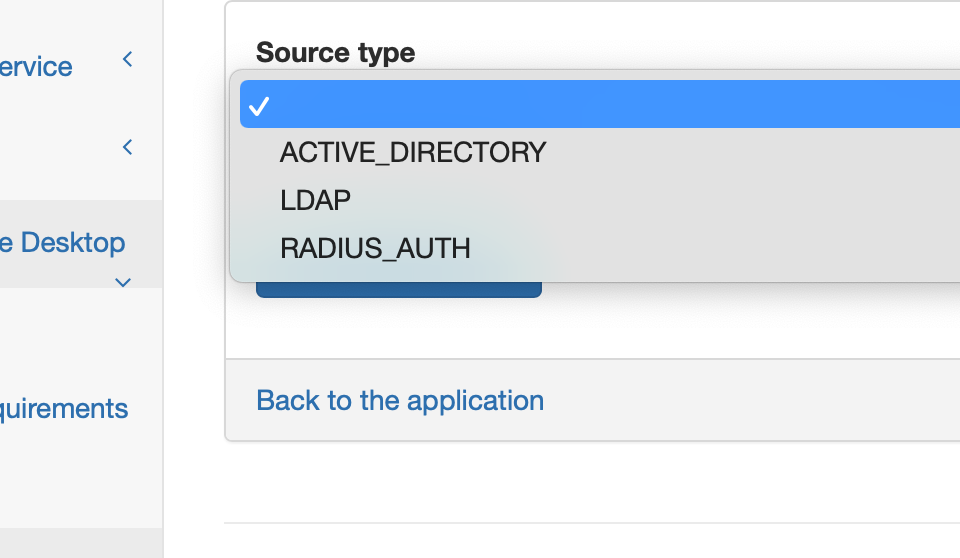
Here is some basic setup AD configuration. More…
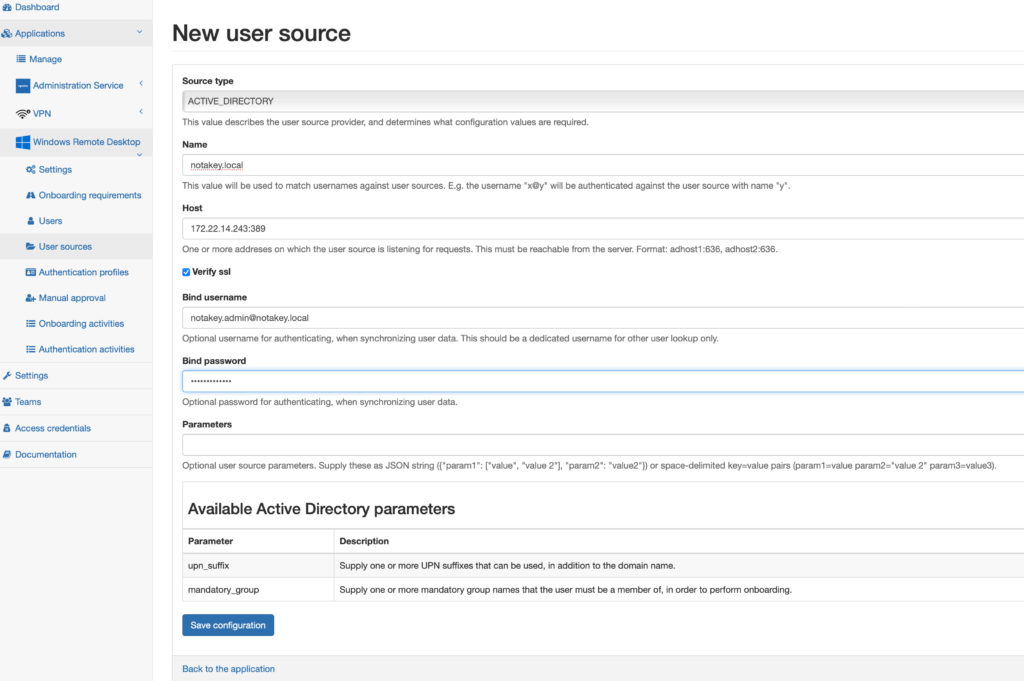
If user will have enough rights, the new user source will be added. Onboarded users will be synchronized with AD. Later with users onboarded you can configure escalation mechanism or multi user approval. More…
To make new application visible in the Notakey Authenticator configure onboarding requirements. If phone numbers are configured in AD you can use onboarding with sms or whatsup msgs.
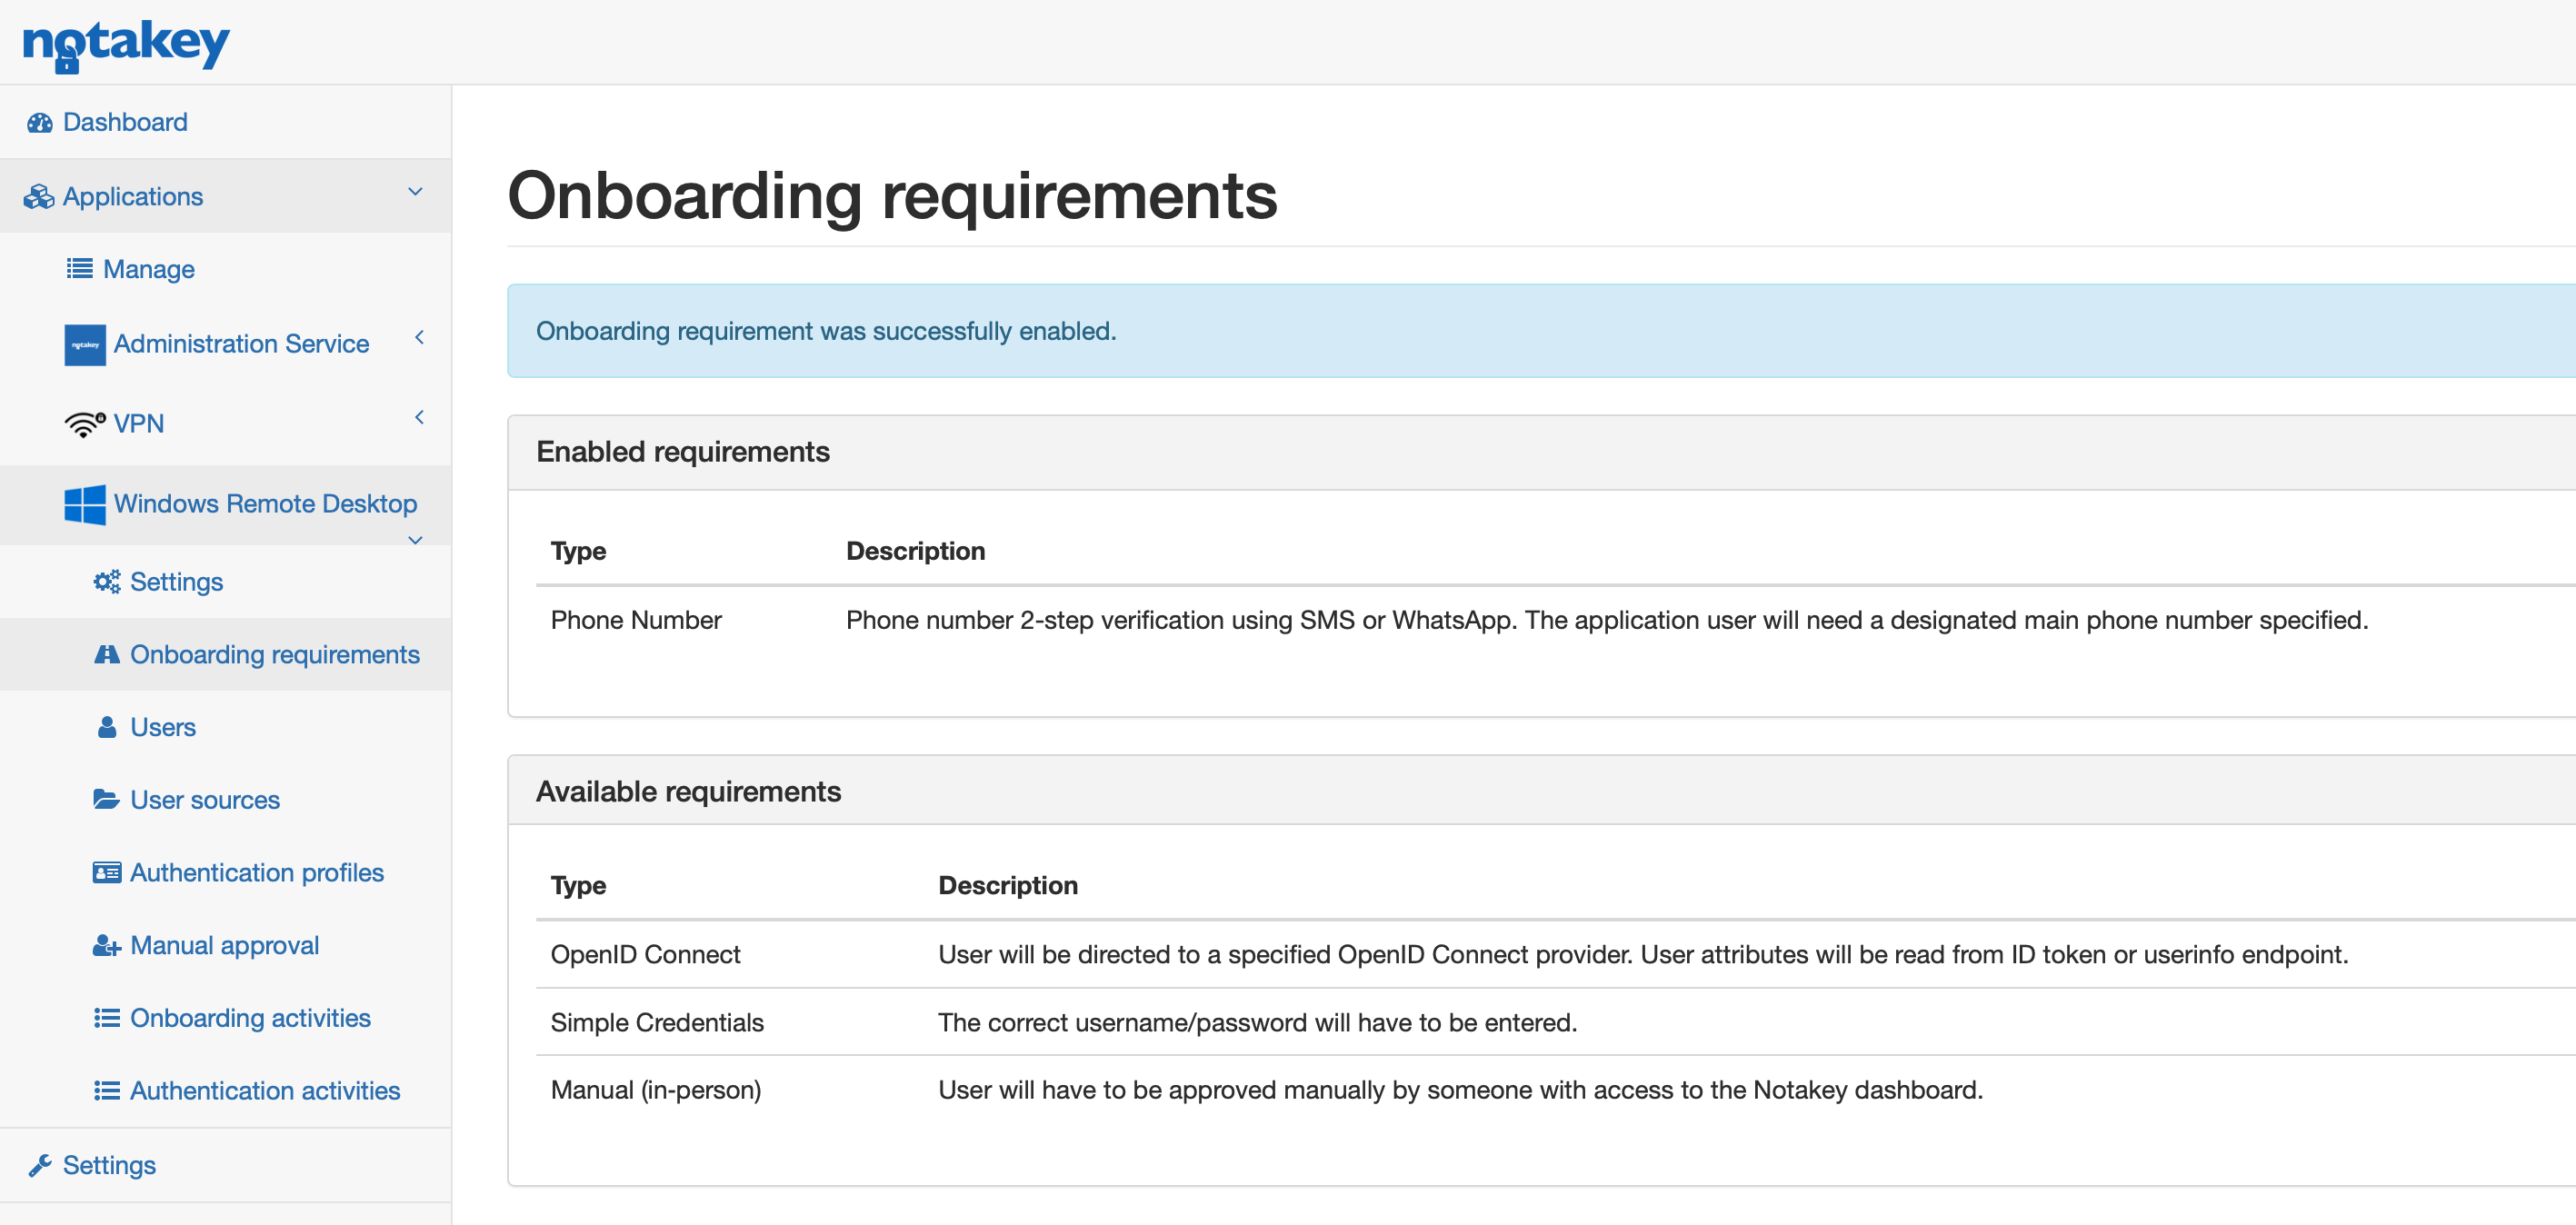
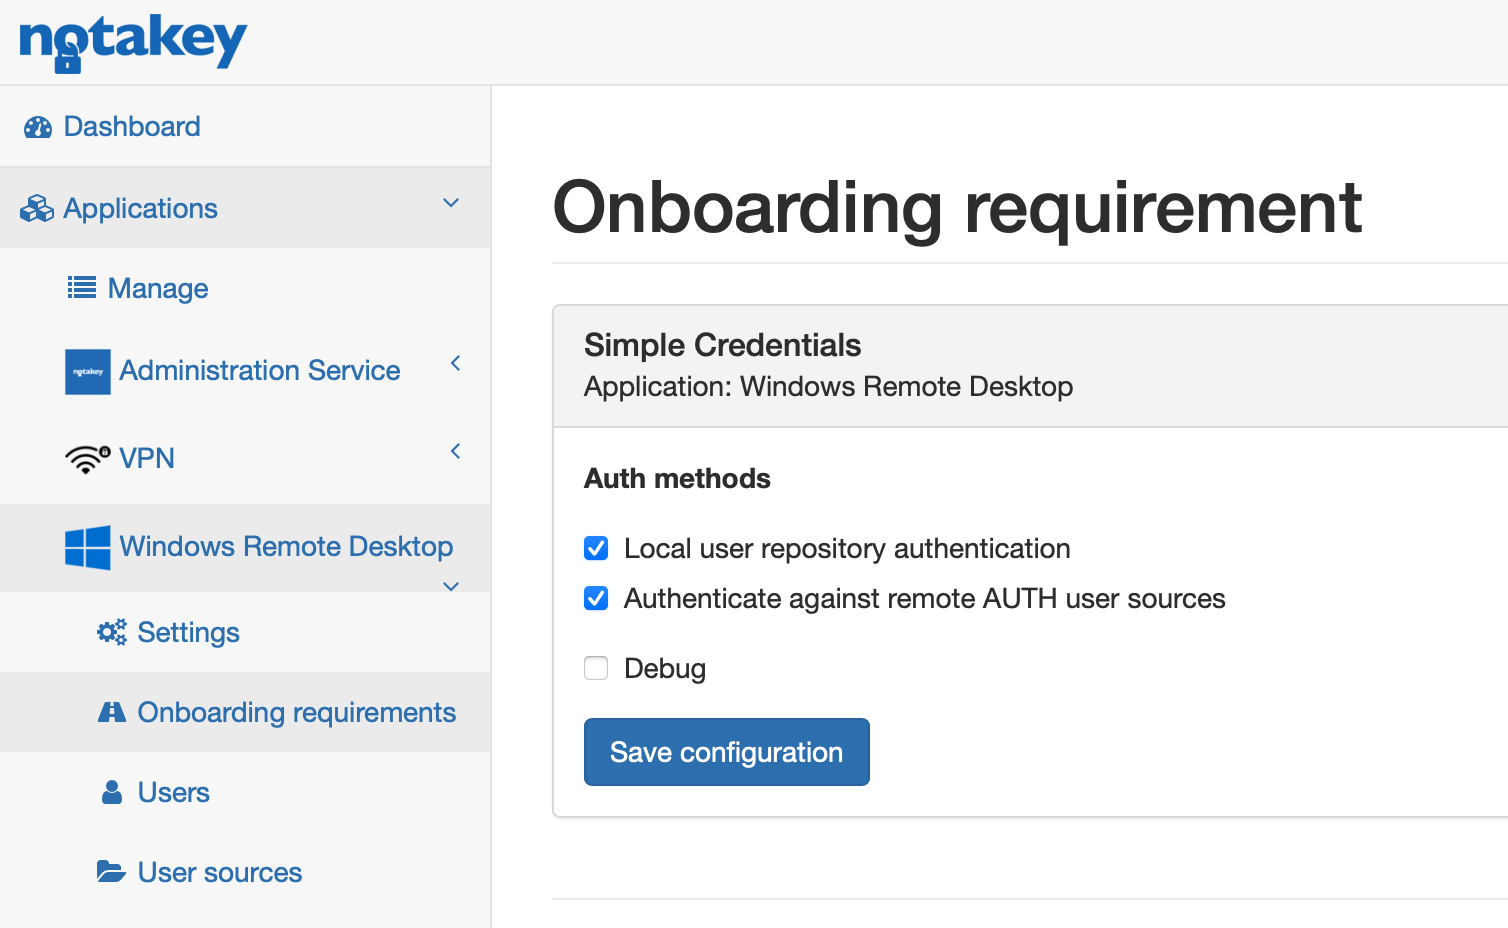
Use any available method or combine them. In this case sms method is enabled. In some countries SMS service might be unreliable, so choose an other method and let us know. If you use simple credentials method and want users to authenticate against AD select edit link after enabling this option and check Authenticate against remote AUTH user sources box.
Onboard Notakey Authenticator to this newly made service.
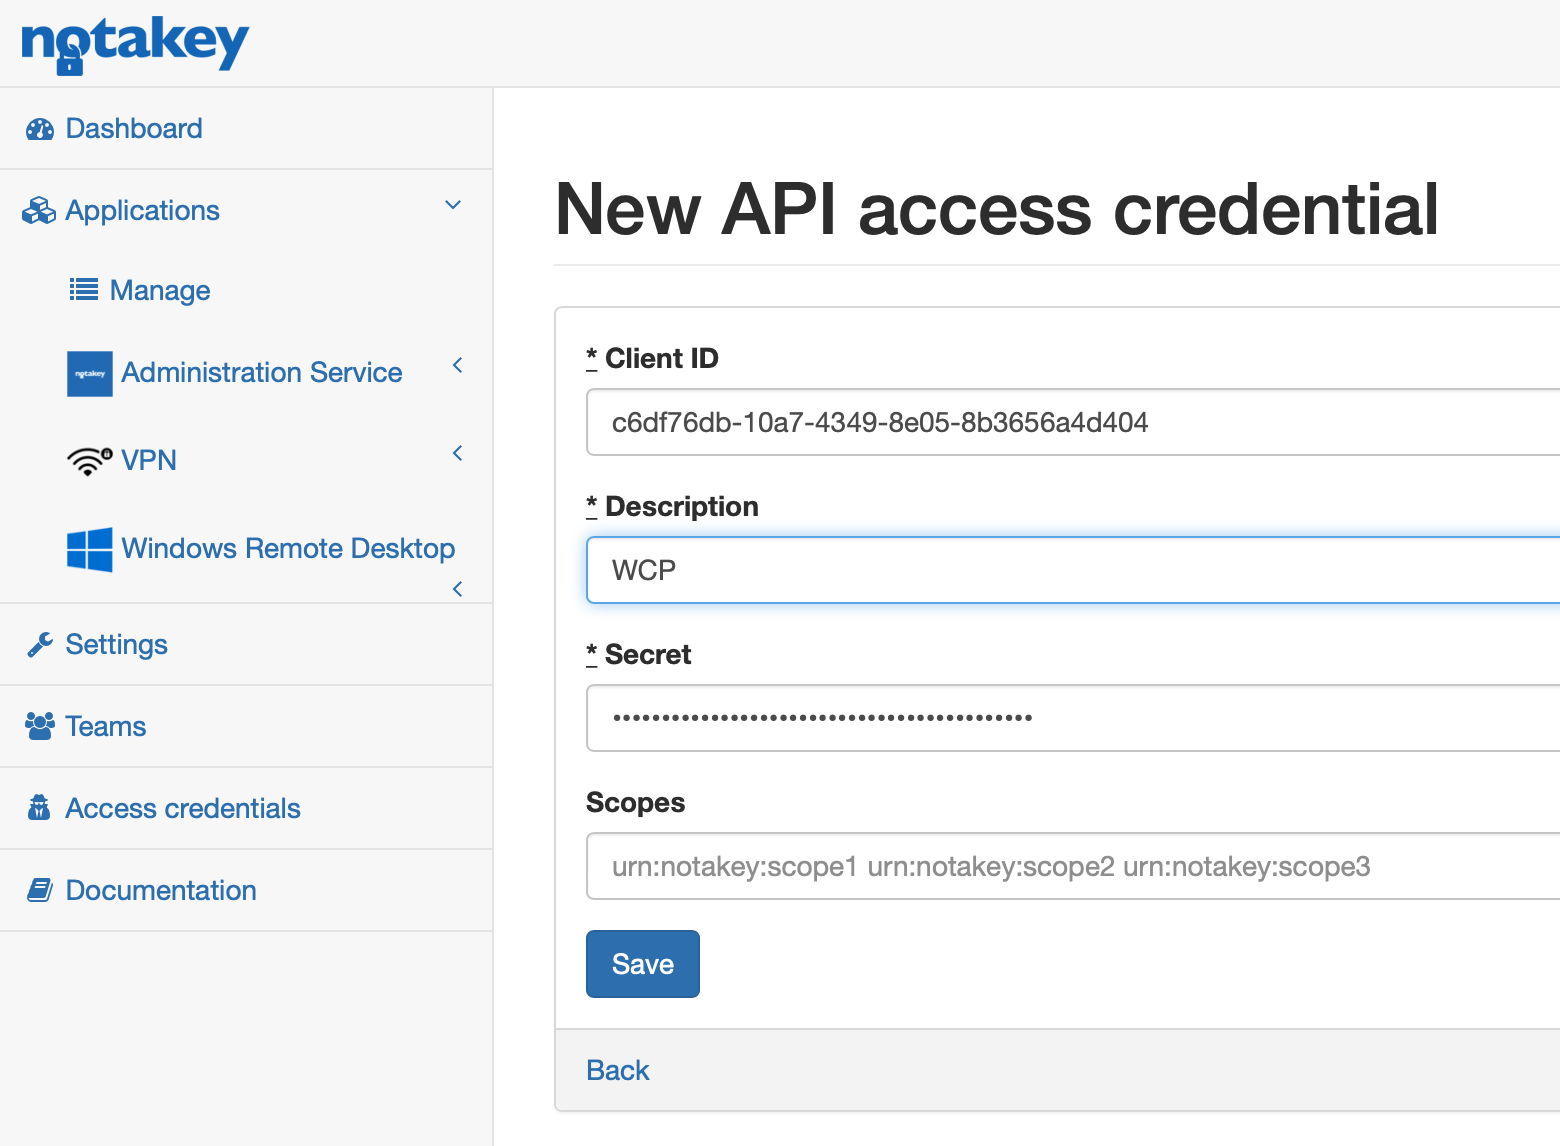
Now create API access credentials to allow WCP to connect to the Notakey appliance. Add a new client.
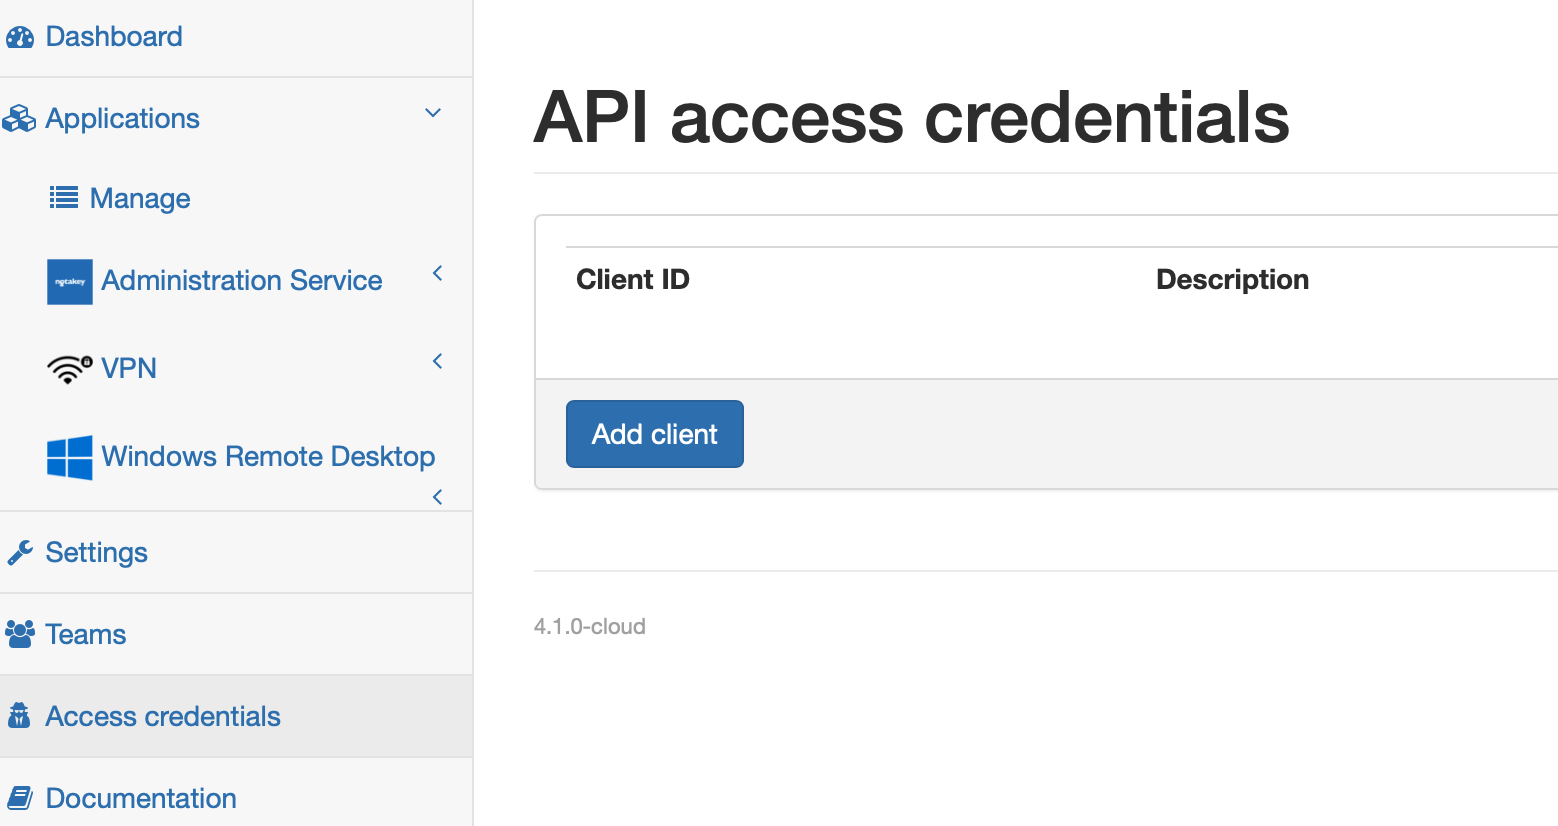
Leave scopes field empty. More about scopes find in the API manual. Client ID and secret will be generated automatically.
Appliance part is ready now.
Now let’s go to Windows machine. First make a new registry file with access credentials for the appliance. You can edit windows registry directly as well.
Windows Registry Editor Version 5.00
[HKEY_LOCAL_MACHINE\SOFTWARE\Notakey]
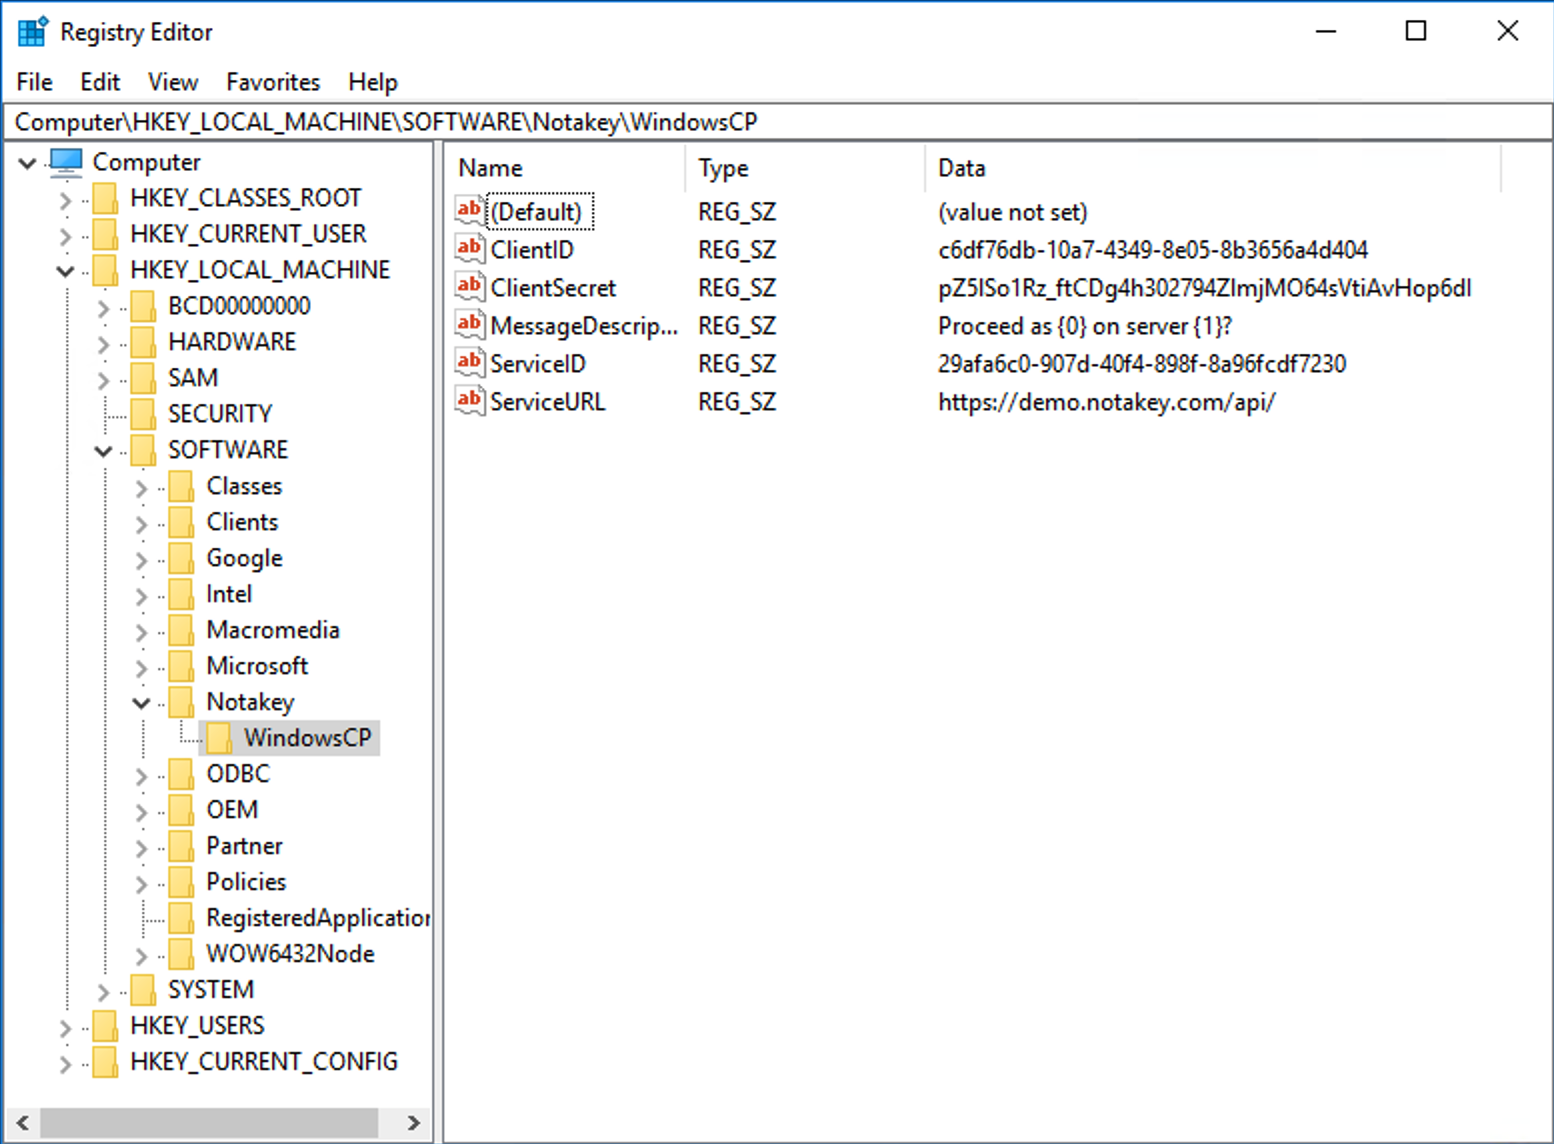
[HKEY_LOCAL_MACHINE\SOFTWARE\Notakey\WindowsCP]
"ServiceURL"="https://demo.notakey.com/api/"
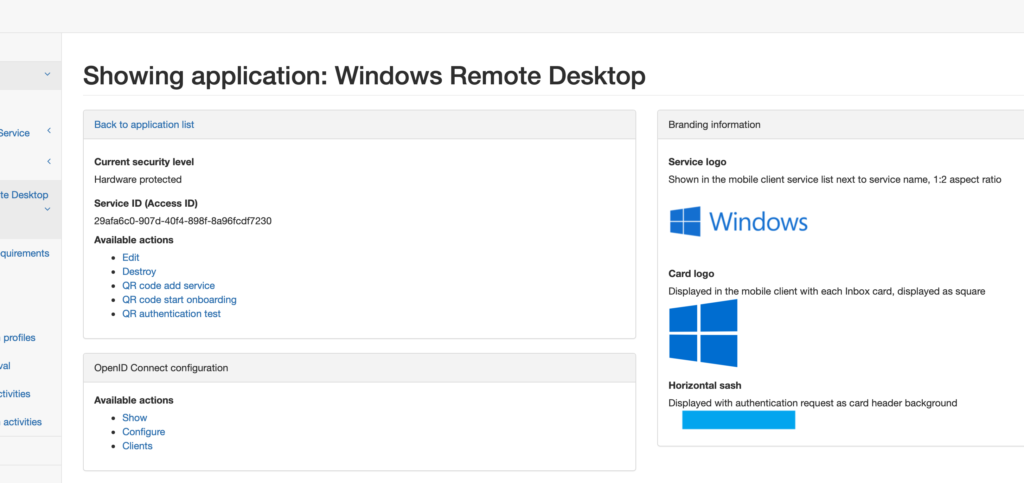
"ServiceID"="29afa6c0-907d-40f4-898f-8a96fcdf7230"
"ClientID"="c6df76db-10a7-4349-8e05-8b3656a4d404"
"ClientSecret"="pZ5lSo1Rz_ftCDg4h302794ZlmjMO64sVtiAvHop6dI"
"MessageTtlSeconds"=dword:0000001e
"MessageActionTitle"="Winlogin"
"MessageDescription"="Proceed as {0} on server {1}?"
"AuthCreateTimeoutSecs"=dword:00000014
"AuthWaitTimeoutSecs"=dword:0000003c
Copy this content into the file wcp_notakey.reg More…

Double-click on your registry file and upload new settings. Open registry editor and check if everything is loaded.
Download the newest Windows credential provider from Notakey and install it. Restart windows and log in with old method. Then open the Registry Editor, and navigate to HKEY_LOCAL_MACHINE > SOFTWARE > Microsoft > Windows > CurrentVersion > Authentication > LogonUI and copy the value of LastLoggedOnProvider
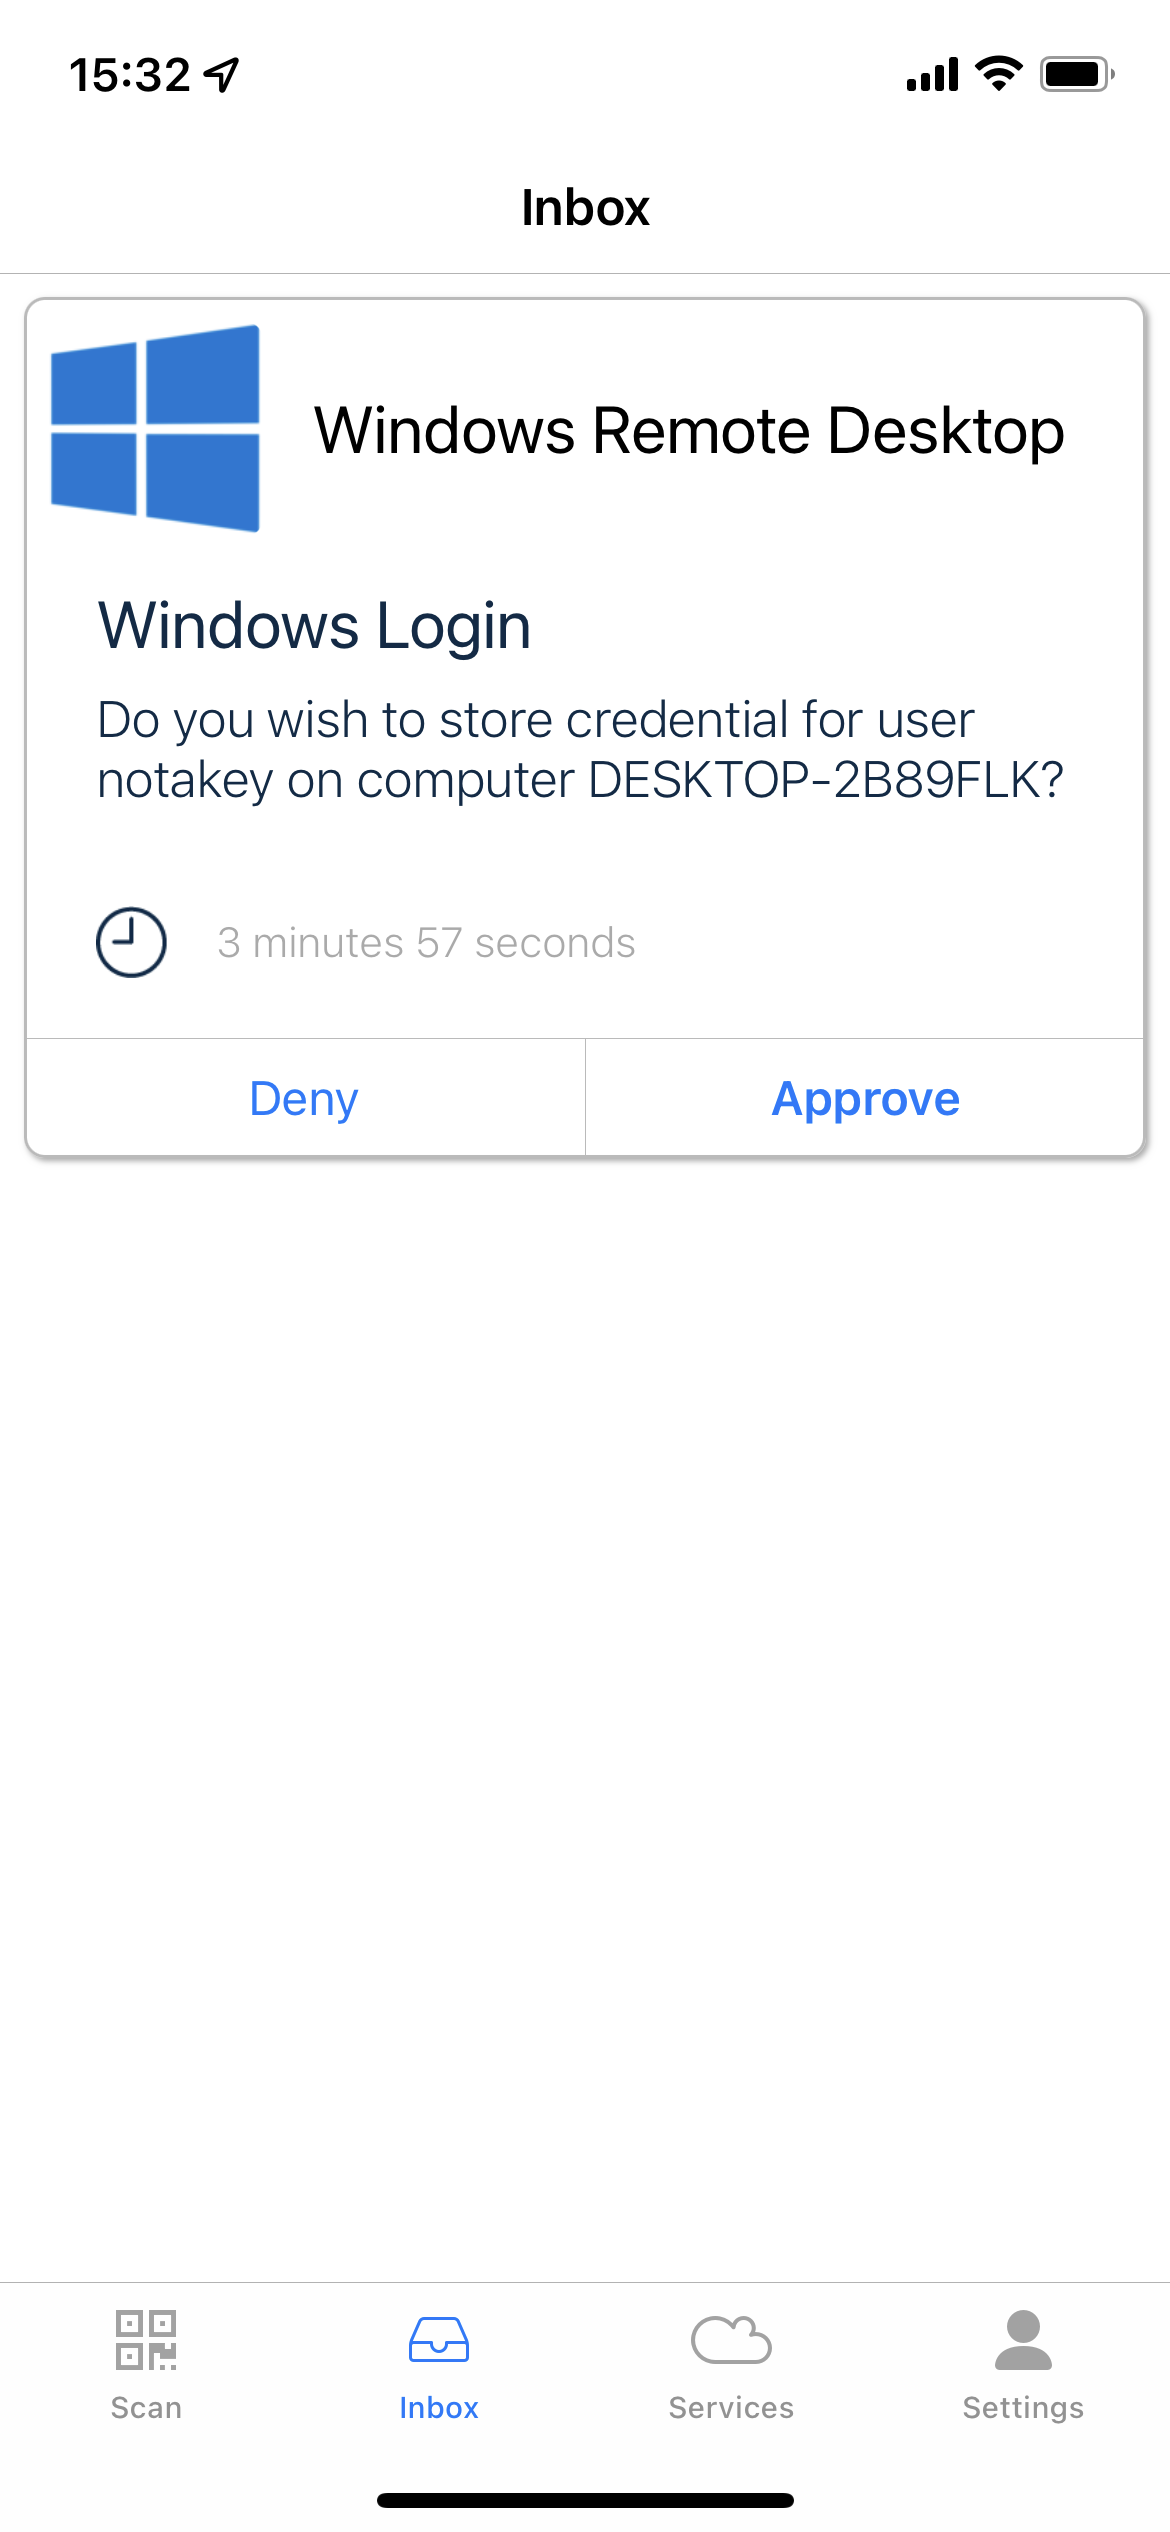
Lock machine and choose Notakey Credential Provider, enter your username and password. Notakey will ask you permission to encrypt your password.
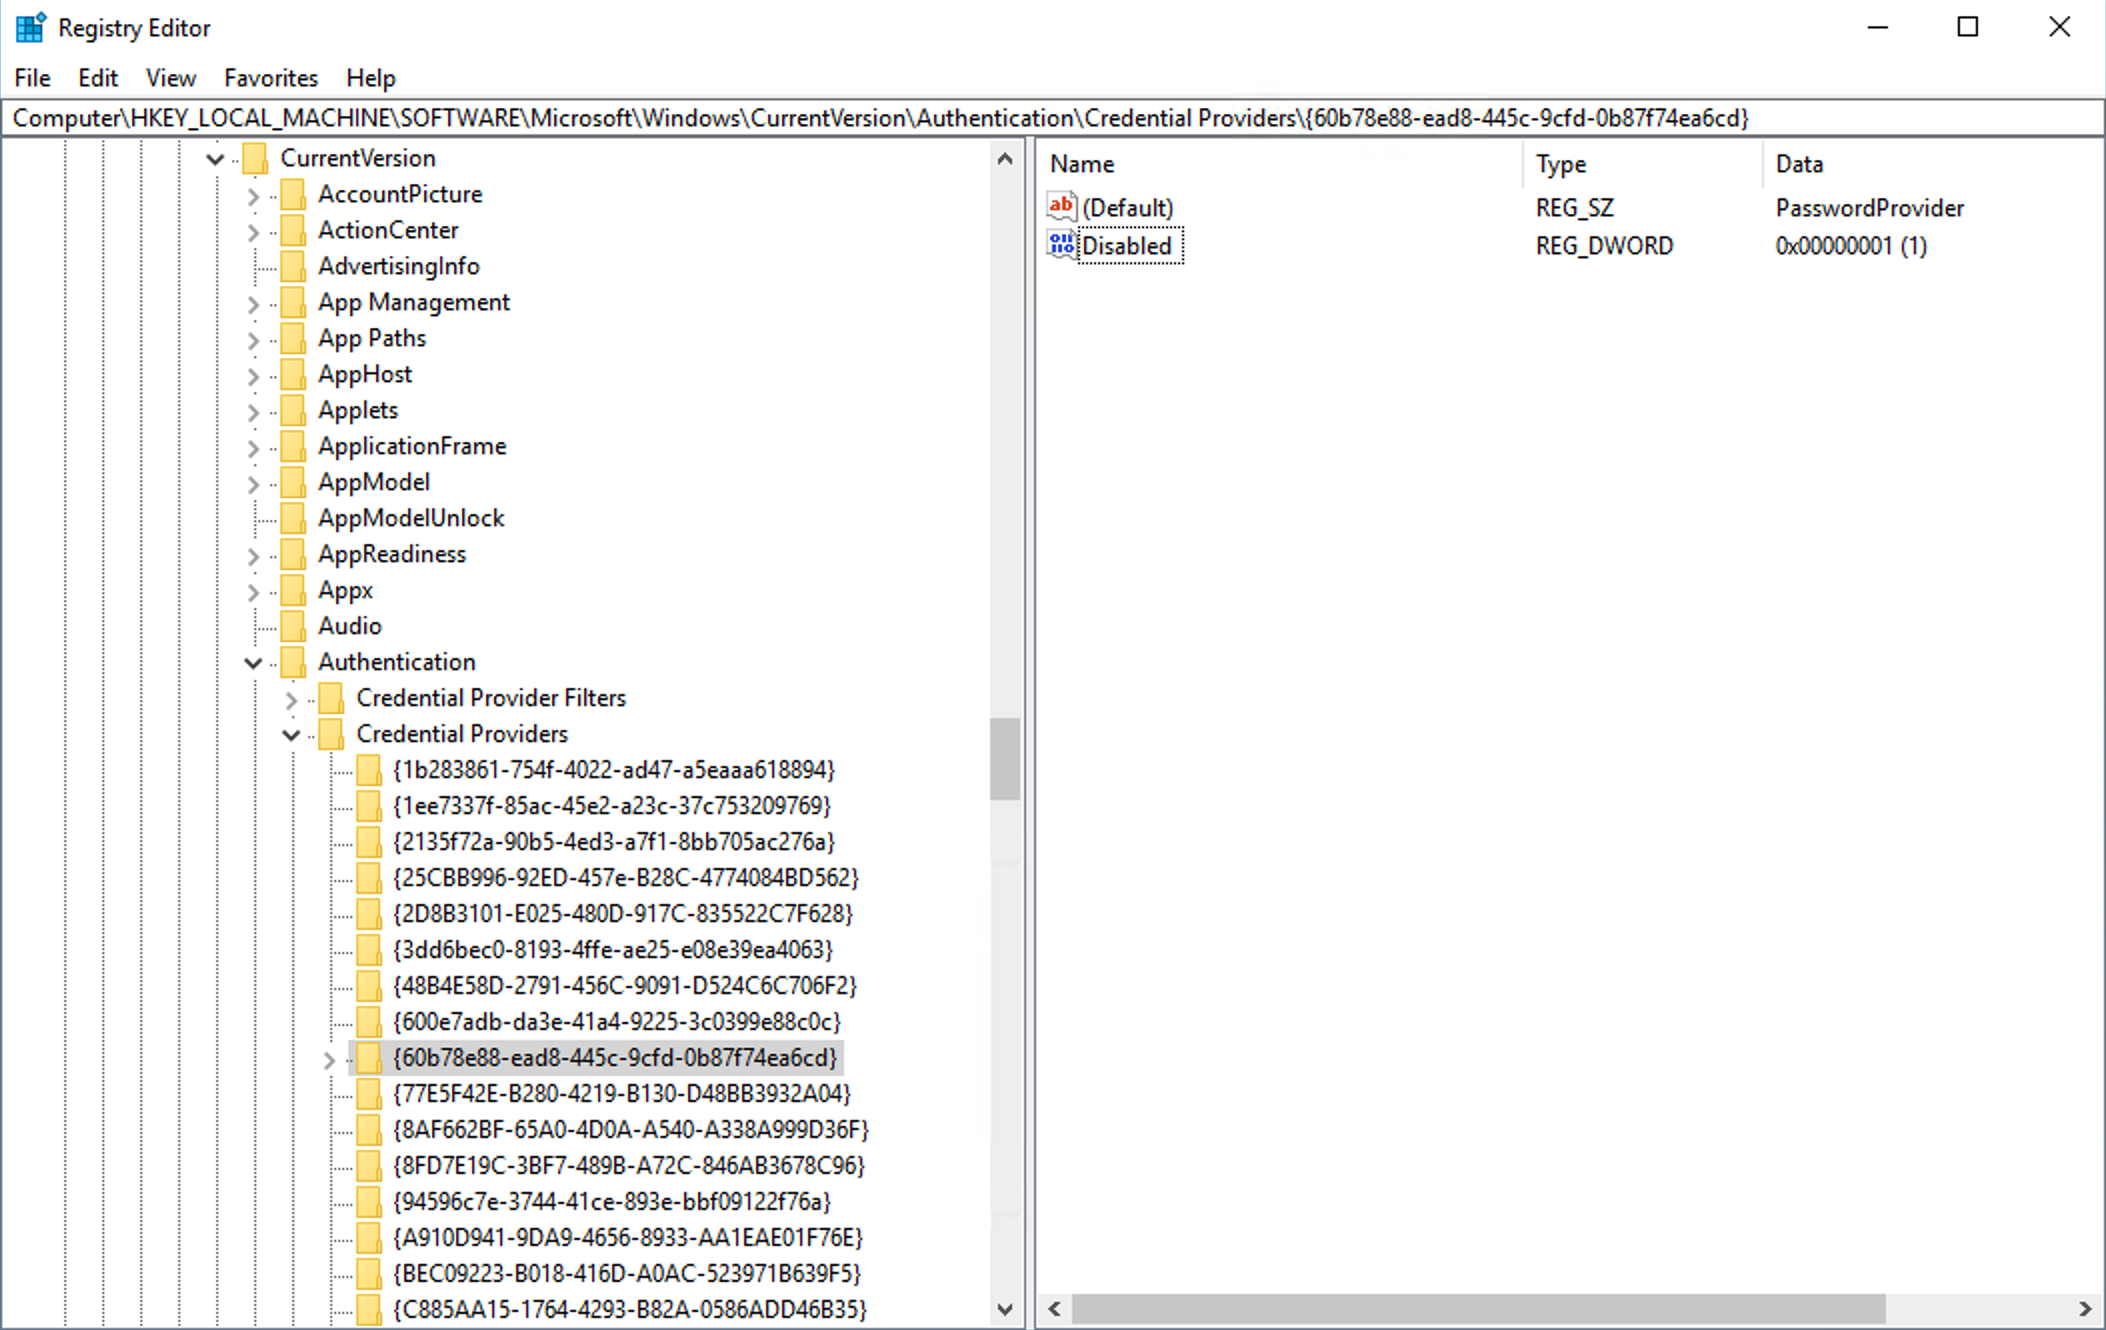
No we have to disable default credential provider. To do that open registry editor again, navigate to registry key HKEY_LOCAL_MACHINE > SOFTWARE > Microsoft > Windows > CurrentVersion > Authentication > Credential Providers, find provider’s key (similar to what you copied from LastLoggedOnProvider previously) Right click on a credential provider’s CLSID (which should be disabled), and add a new DWORD (32-bit) Value with the name Disabled and value 1.
You can do this in group policy as well. More…
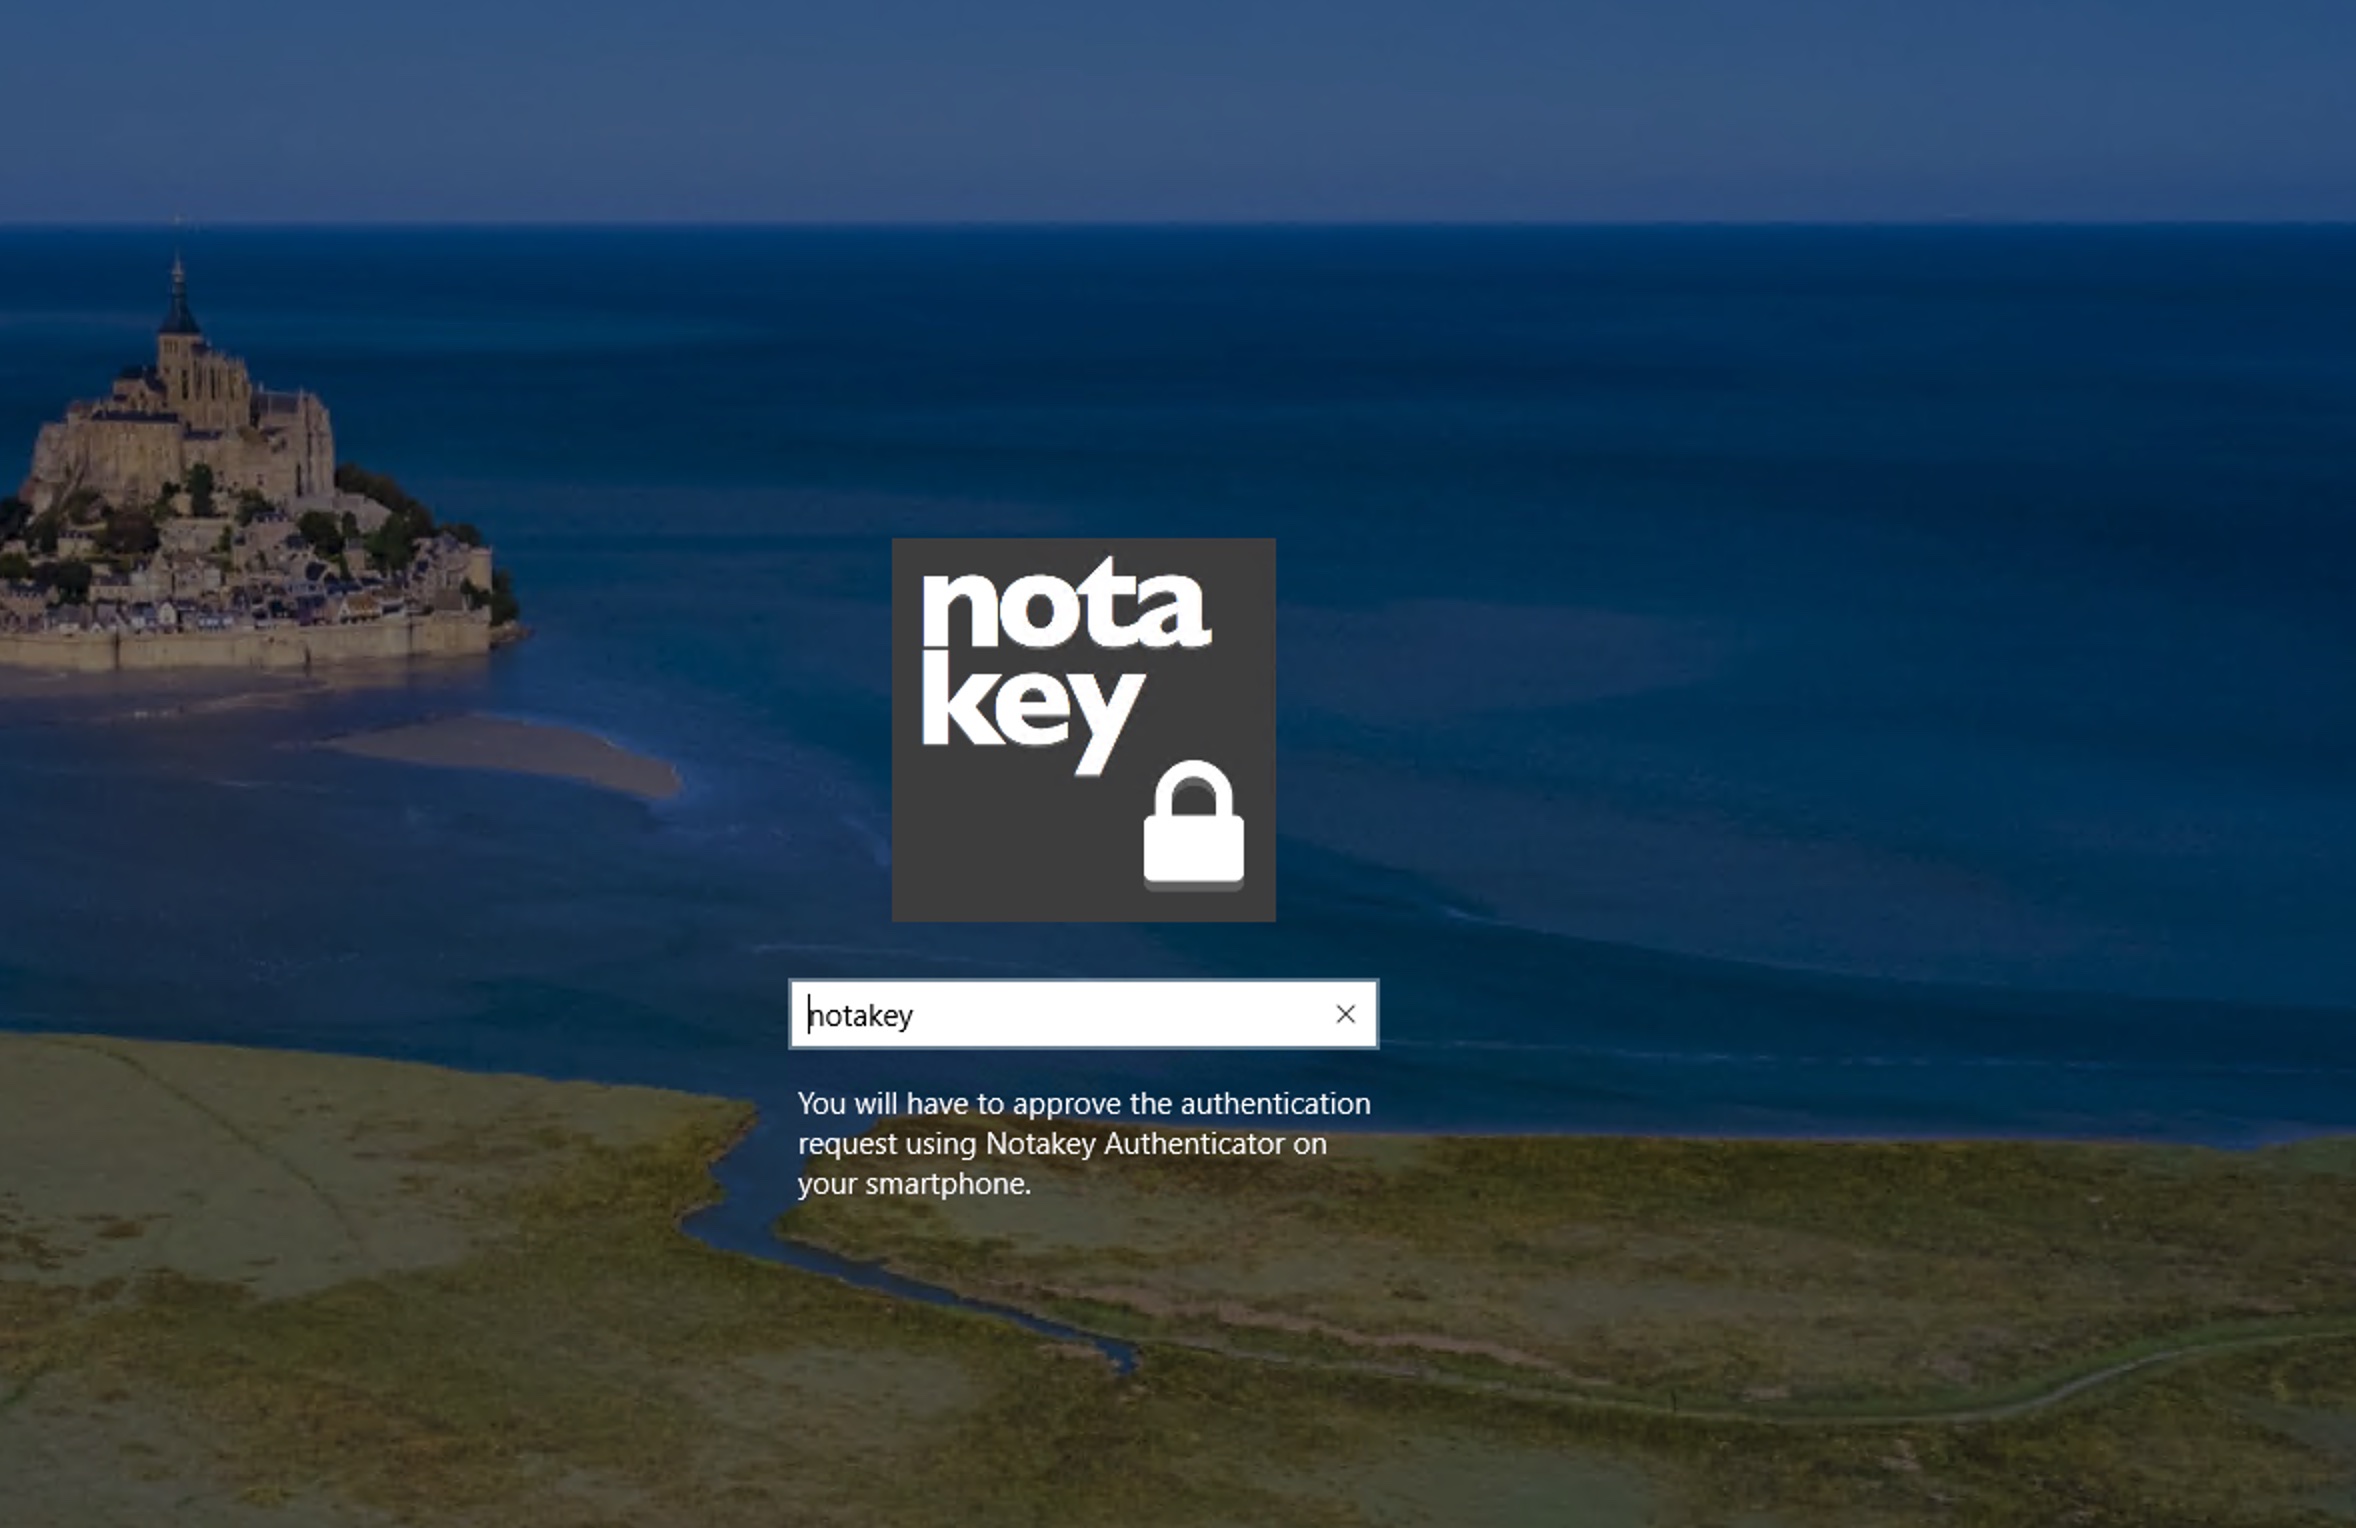
Now you have only Notakey credential provider left. Next time you will try to log into your system only username and second factor will be asked.
Thats’s all.
Thank you for choosing Notakey.